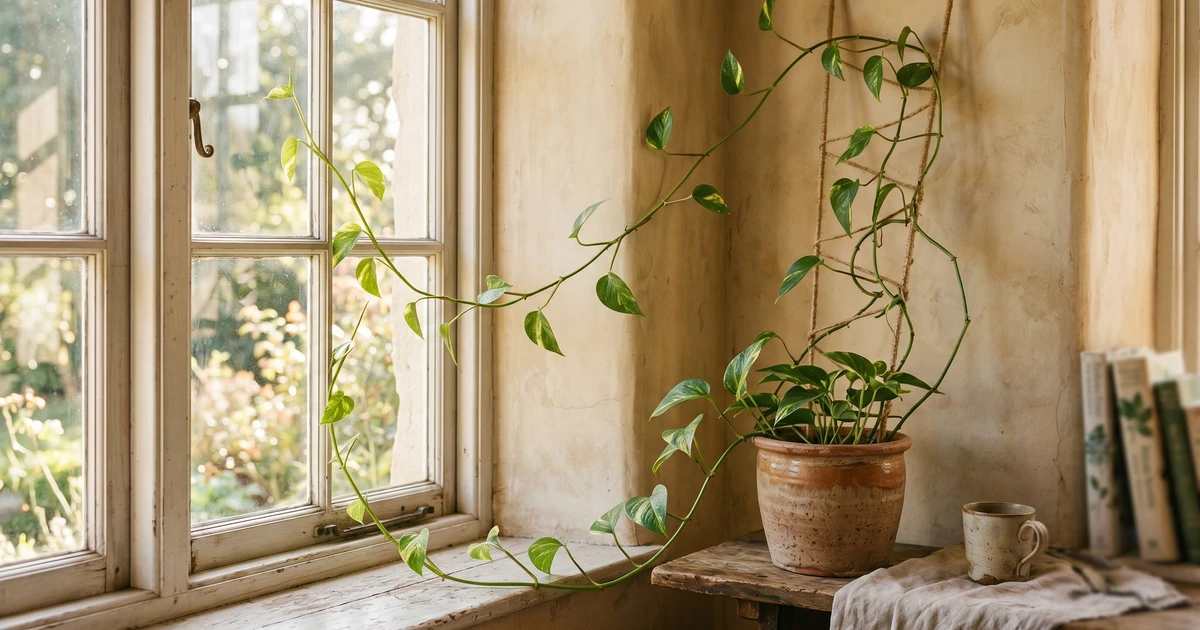
moss pole setup on Monstera Deliciosa
Quick answer
If your Monstera Deliciosa has moss pole setup, the most likely cause is: Proper moss pole installation for Monstera deliciosa encourages vertical climbing growth, supports larger mature leaves with fenestration, and provides attachment points for aerial roots; plants without vertical support remain in juvenile growth phase with smaller solid leaves and vining habit
Start here:
- 1. Select appropriate pole: Use sphagnum moss pole (18-24 inches tall) or extendable coir pole
- 2. Install securely: Insert pole deep into pot center; stake firmly to prevent tipping as plant grows
Why Monstera Deliciosa gets moss pole setup
Monstera deliciosa
Proper moss pole installation for Monstera deliciosa encourages vertical climbing growth, supports larger mature leaves with fenestration, and provides attachment points for aerial roots; plants without vertical support remain in juvenile growth phase with smaller solid leaves and vining habit
How to reverse moss pole setup on Monstera Deliciosa
- 1
Select appropriate pole: Use sphagnum moss pole (18-24 inches tall) or extendable coir pole
- 2
Install securely: Insert pole deep into pot center; stake firmly to prevent tipping as plant grows
- 3
Attach plant gently: Use soft plant ties or Velcro to secure main stem to pole without damaging tissue
- 4
Mist the pole: Spray moss with water 2-3 times weekly to maintain humidity for aerial root attachment
- 5
Guide aerial roots: Direct new aerial roots toward moist moss pole to encourage natural attachment
- 6
Adjust ties: Loosen and reposition ties as stem thickens; avoid constriction of vascular tissue
- 7
Add extensions: Stack additional pole sections as plant grows taller to maintain support
Keep moss pole setup off this Monstera Deliciosa
Install moss pole early when plant is young; use sphagnum moss wrapped pole or coconut coir pole that retains moisture; secure pole firmly in pot center; mist pole regularly to maintain moisture for aerial root attachment; position in bright indirect light to encourage upward growth
Other Monstera Deliciosa problems
Go Deeper
This is covered in-depth in the monstera deliciosa Mastery Pack — structured modules with video walkthroughs, advanced protocols, and rescue timelines.
Get the Mastery Pack — $37 →